
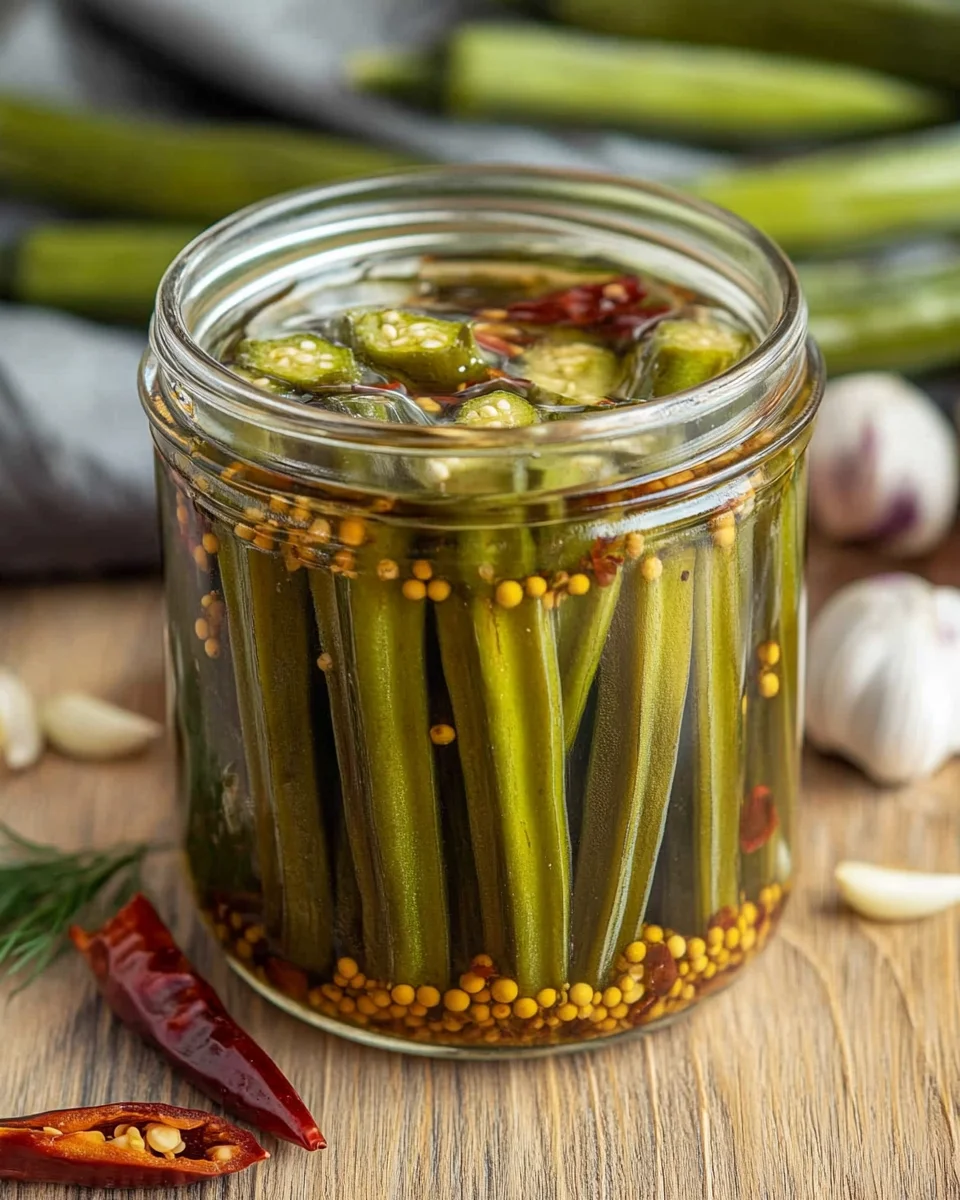
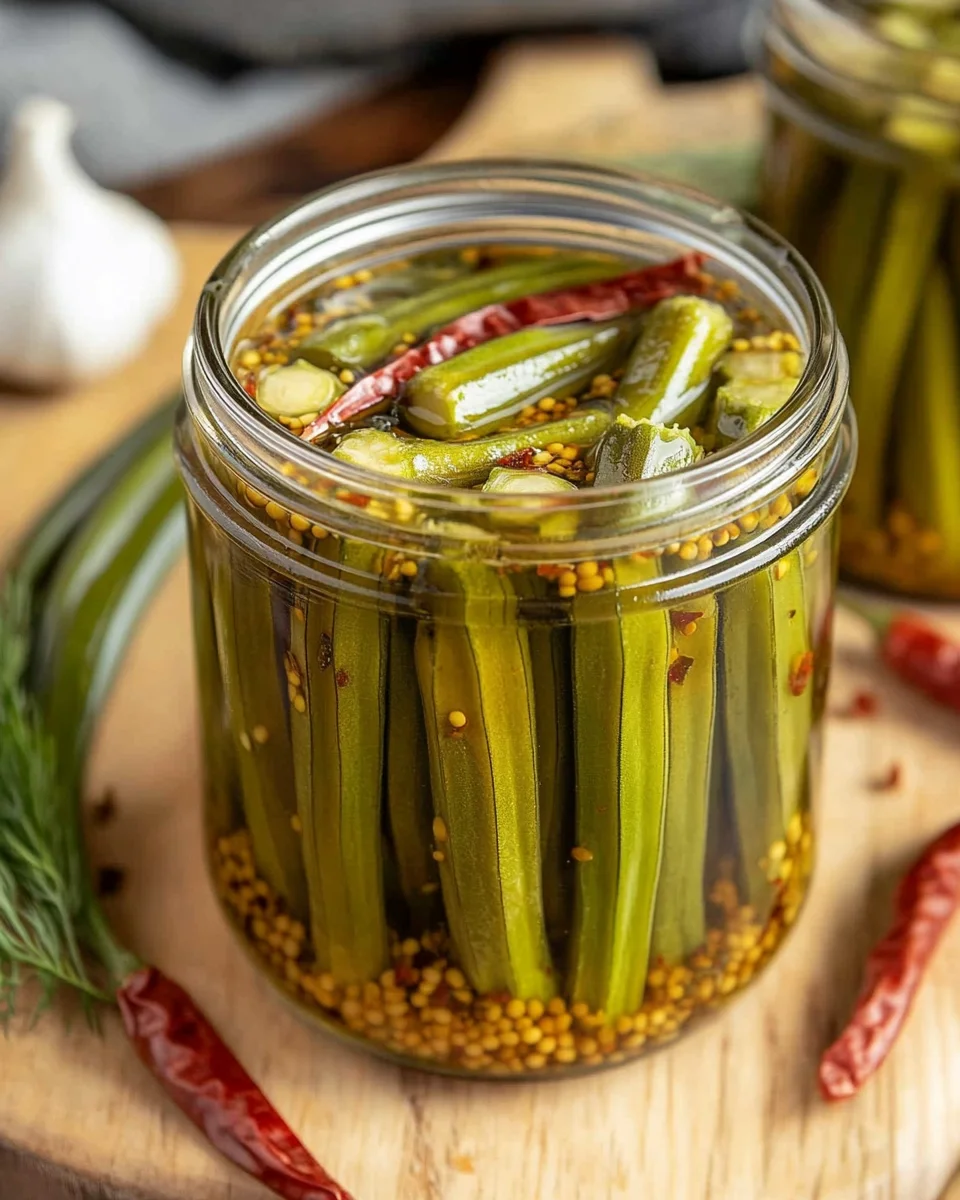
This pickled okra recipe is a delightful way to enjoy garden-fresh produce during the summer months. With its tangy flavor and crunchy texture, pickled okra is perfect for snacking, adding to salads, or serving as a side dish at picnics and barbecues. Plus, it’s incredibly easy to make and lasts for weeks in your refrigerator, making it both a practical and delicious choice.
Why You’ll Love This Recipe
- Quick and Easy: This recipe takes only about 25 minutes from start to finish, allowing you to enjoy your pickled okra without spending hours in the kitchen.
- Versatile Flavor: The combination of vinegar, garlic, and spices creates a unique flavor that can complement many dishes or stand alone as a tasty snack.
- Perfect for Canning: Not only does this recipe yield delicious pickled okra, but it’s also suitable for canning, so you can preserve your harvest throughout the year.
- Health Benefits: Okra is rich in vitamins and fiber, making this pickled treat not just flavorful but also nutritious.
- Great for Gatherings: Whether you’re hosting a barbecue or attending a potluck, pickled okra is sure to impress your guests as a standout side dish.
Tools and Preparation
Before diving into the recipe, gather your tools to make the process smooth and enjoyable. The right equipment ensures that your pickling experience goes off without a hitch.
Essential Tools and Equipment
- Canner
- Large pot
- Jars with lids
- Measuring cups
- Measuring spoons
Importance of Each Tool
- Canner: Essential for processing jars safely; it helps create a vacuum seal that preserves your pickled okra.
- Large Pot: Necessary for boiling the vinegar brine; it ensures even heating for effective pickling.
- Jars with Lids: Your containers for the pickled okra; using sterilized jars helps prevent spoilage.
Ingredients
For the Pickling Brine
- 1 quart white vinegar
- 1 quart water
- 1/2 cup pickling salt
For the Seasoning
- 1 tsp dill seed
- 1 pod red pepper or 1/8 tsp cayenne pepper
- 3 garlic cloves
For the Main Ingredient
- Okra
How to Make Pickled Okra
Step 1: Prepare the Brine
Mix vinegar, water, and pickling salt in a pot. Bring this mixture to a boil while stirring occasionally to ensure that the salt dissolves completely.
⭐ Join Thousands of Happy Customers Who Love These Coffee Scoops!
Step 2: Prepare Your Okra
Wash your okra thoroughly under cold water. Set it aside on a clean towel to dry while you prepare your jars.
Step 3: Set Up Your Canner
Bring your canner to a simmer with empty jars inside. This step ensures that when you fill them with brine and okra, they are ready for processing.
Step 4: Sterilize Lids and Bands
Wash all lids and bands with warm soapy water. Rinse them well to remove any soap residue before using them on your jars.
Step 5: Fill Jars with Seasoning
Remove one jar at a time from the canner. Add 1 tsp dill seed, 1 pod red pepper or 1/8 tsp cayenne pepper, and 3 garlic cloves into each jar.
Step 6: Pack the Okra
Carefully pack the washed okra into the jar tightly after adding seasoning. Pour in the hot brine until it covers the okra while leaving about 1/2 inch headspace at the top of each jar.
Step 7: Remove Air Bubbles
Use a clean utensil to remove any air bubbles by gently sliding it along the sides of the jar. This will help ensure proper sealing.
Step 8: Seal Jars
Wipe down the rim of each jar with a clean cloth before placing on bands and lids. Ensure they are tightened securely but not overly tight.
Step 9: Process Jars
Return filled jars back into the canner. Process jars in boiling water for about 15 minutes to seal properly.
Step 10: Cool Down
After processing time is complete, carefully remove pots from heat. Allow jars to sit for about 5 minutes before removing them from the water bath.
Step 11: Let Them Cool
Place jars on a towel or cooling rack. Let them cool completely at room temperature.
Step 12: Check Seals
After letting jars sit for at least 24 hours, check that each lid has sealed correctly by pressing down in the center of each lid; if it pops back up, it hasn’t sealed properly.
Enjoy your homemade pickled okra as an exciting addition to meals or as an appetizing snack!
How to Serve Pickled Okra
Pickled okra is not only a delicious snack but also a versatile addition to many dishes. Its tangy flavor and crunchy texture can enhance various meals, making it a perfect side or condiment for your favorite recipes.
As a Snack
- Enjoy plain: Simple and satisfying, just grab a few pieces straight from the jar.
- Pair with cheese: Serve pickled okra alongside your favorite cheese platter for a delightful contrast.
In Salads
- Toss in green salads: Add pickled okra to mixed greens for an extra crunch and zesty flavor.
- Use in potato salad: Incorporate chopped pickled okra into your potato salad for a unique twist.
On Sandwiches
- Layer on sandwiches: Include pickled okra in sandwiches or wraps to add brightness and texture.
- Use as a garnish: Place a few pieces on top of burgers or hot dogs for an exciting flavor boost.
In Cocktails
- Garnish for drinks: Use pickled okra as an eye-catching garnish in Bloody Marys or other savory cocktails.
- Flavor enhancer: Muddle some in cocktails to add a spicy, tangy kick.
How to Perfect Pickled Okra
To ensure your pickled okra turns out perfectly every time, follow these simple tips that will enhance both flavor and preservation.
- Choose fresh okra: Start with firm, fresh pods for the best taste and texture.
- Use the right vinegar: White vinegar works best for that classic tangy flavor, but experiment with apple cider vinegar for a sweeter note.
- Adjust seasoning: Feel free to modify spices according to your taste preferences; add more garlic or spices if desired.
- Check seals: Always ensure jars are sealed properly after canning; this ensures long-lasting freshness.
- Store properly: Keep jars in a cool, dark place. Refrigerated jars will last longer once opened.
Best Side Dishes for Pickled Okra
Pickled okra pairs well with many side dishes, adding zest and crunch. Here are some of the best sides to complement your meal:
- Cornbread: This Southern classic is perfect with pickled okra, providing a warm and comforting balance.
- Fried Green Tomatoes: Their crispy texture contrasts beautifully with the crispness of pickled okra.
- Coleslaw: The creamy elements of coleslaw offset the tanginess of pickled okra perfectly.
- Black-Eyed Peas: A traditional Southern dish that adds heartiness when served alongside pickled okra.
- Potato Wedges: Crispy potato wedges are an excellent accompaniment; try serving them with dipping sauces.
- Grilled Vegetables: A medley of grilled vegetables brings out the flavors of pickled okra wonderfully.
Common Mistakes to Avoid
Making pickled okra can be simple, but there are a few common pitfalls to watch out for.
-
Using the wrong type of vinegar: Always use white vinegar for this pickled okra recipe. Other types may alter the flavor and preserve quality.
-
Not packing jars tightly: It’s important to pack the okra tightly into the jars. If they are too loose, they may not pickle properly and could spoil.
-
Ignoring headspace: Leaving adequate headspace is crucial. Not leaving 1/2 inch can prevent proper sealing and may lead to spoilage.
-
Skipping sterilization: Always sterilize your jars and lids before filling them. This step helps ensure that your pickled okra remains safe to eat for longer periods.
-
Not cooling jars correctly: After processing, let the jars cool on a clean towel or rack. Rapid temperature changes can cause jars to crack and ruin your pickles.
Storage & Reheating Instructions
Refrigerator Storage
- Store pickled okra in airtight containers in the refrigerator.
- It can last up to 3 months when stored properly in the fridge.
Freezing Pickled Okra
- Freezing is not recommended for pickled okra as it will alter texture and flavor.
- Instead, make smaller batches if you want to enjoy fresh flavors over time.
Reheating Pickled Okra
-
Oven: Preheat the oven to 350°F (175°C). Place the jars in a baking dish with water and heat for about 15 minutes.
-
Microwave: Transfer okra to a microwave-safe container. Heat in short intervals, stirring in between, until warmed through.
-
Stovetop: Place the pickled okra in a saucepan over medium heat. Stir occasionally until heated, usually about 5 minutes.
Frequently Asked Questions
Here are some common questions about making pickled okra that might help you.
Can I use frozen okra for pickling?
Using frozen okra is not recommended as it may result in a mushy texture once pickled. Fresh okra is best for this recipe.
How long does pickled okra last?
When stored properly in the refrigerator, pickled okra can last up to 3 months, maintaining its crispness and flavor.
What should I serve with pickled okra?
Pickled okra pairs well with sandwiches, salads, or as an appetizer. It adds a tangy crunch to various dishes!
How To Pickle Okra at Home?
Follow this easy recipe by mixing vinegar, water, and salt. Then pack fresh okra with seasonings in sterilized jars before processing them.
Final Thoughts
This easy pickled okra recipe is not only delightful but also versatile. You can customize it by adding spices like mustard seeds or changing the level of heat with different peppers. Perfect as a snack or side dish, give this recipe a try today!
Pickled Okra
- Total Time: 25 minutes
- Yield: About 4 cups (4 servings) 1x
Description
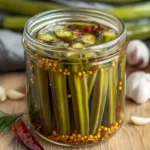
This easy pickled okra recipe captures the essence of summer with its crunchy texture and tangy flavor. Perfect for snacking, adding to salads, or serving at picnics, this delightful treat showcases garden-fresh produce in a jar. In just 25 minutes, you can create a batch that lasts for weeks in your refrigerator. The unique combination of vinegar, garlic, and spices not only enhances your meals but also brings health benefits, as okra is rich in vitamins and fiber. Whether you’re hosting a barbecue or simply want a tasty snack, this pickled okra is sure to impress.
Ingredients
- 1 quart white vinegar
- 1 quart water
- 1/2 cup pickling salt
- 1 tsp dill seed
- 1 pod red pepper or 1/8 tsp cayenne pepper
- 3 garlic cloves
- Fresh okra
Instructions
- Prepare the brine by mixing vinegar, water, and pickling salt in a large pot. Bring to a boil while stirring until salt dissolves.
- Wash and dry the okra thoroughly.
- Set up your canner with simmering water and sterilized jars inside.
- Add seasoning—dill seed, red pepper (or cayenne), and garlic cloves—into each jar.
- Pack the okra tightly into each jar, leaving about 1/2 inch of headspace.
- Pour hot brine over the okra until fully submerged.
- Remove air bubbles by sliding a clean utensil along the sides of the jar.
- Seal each jar with lids and bands, tightening securely but not overly tight.
- Process jars in boiling water for about 15 minutes.
- Let jars cool completely at room temperature before checking seals.
- Prep Time: 15 minutes
- Cook Time: 10 minutes
- Category: Side Dish
- Method: Canning
- Cuisine: Southern
Nutrition
- Serving Size: 1 cup (140g)
- Calories: 60
- Sugar: 2g
- Sodium: 800mg
- Fat: 0g
- Saturated Fat: 0g
- Unsaturated Fat: 0g
- Trans Fat: 0g
- Carbohydrates: 14g
- Fiber: 5g
- Protein: 3g
- Cholesterol: 0mg
⭐ Join Thousands of Happy Customers Who Love These Coffee Scoops!


Leave a Comment